
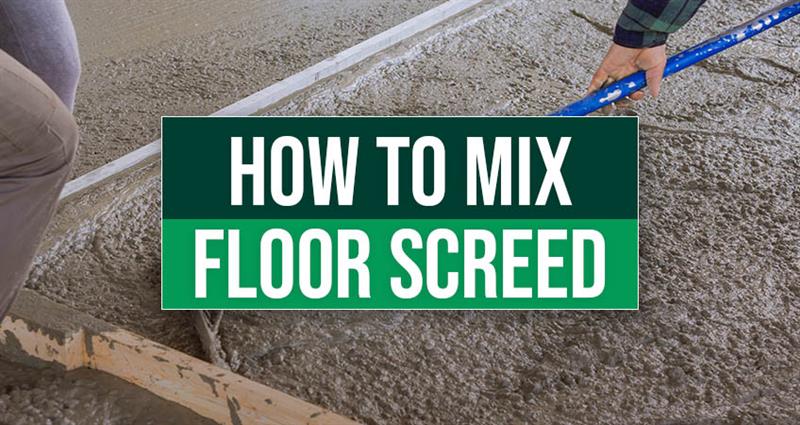
Let’s be honest—floor screed might not be the most glamorous topic at the dinner party, but get it wrong and you’ll have floors that look like they’ve been laid by a blindfolded elephant. Don’t worry though, we’ve got your back (and your floor).
Floor screed is the unsung hero of construction projects. It’s the smooth, level layer that sits between your concrete subfloor and whatever beautiful flooring you’ve chosen. Think of it as the makeup base for your floor—without it, nothing else looks quite right.
At Mix-N-Go, we’ve seen our fair share of screed disasters over the years. From ratios that would make a mathematician weep to mixing techniques that belong in a comedy sketch. That’s why we’ve put together this comprehensive guide to help you avoid the common pitfalls and achieve professional results every time.
What is floor screed?
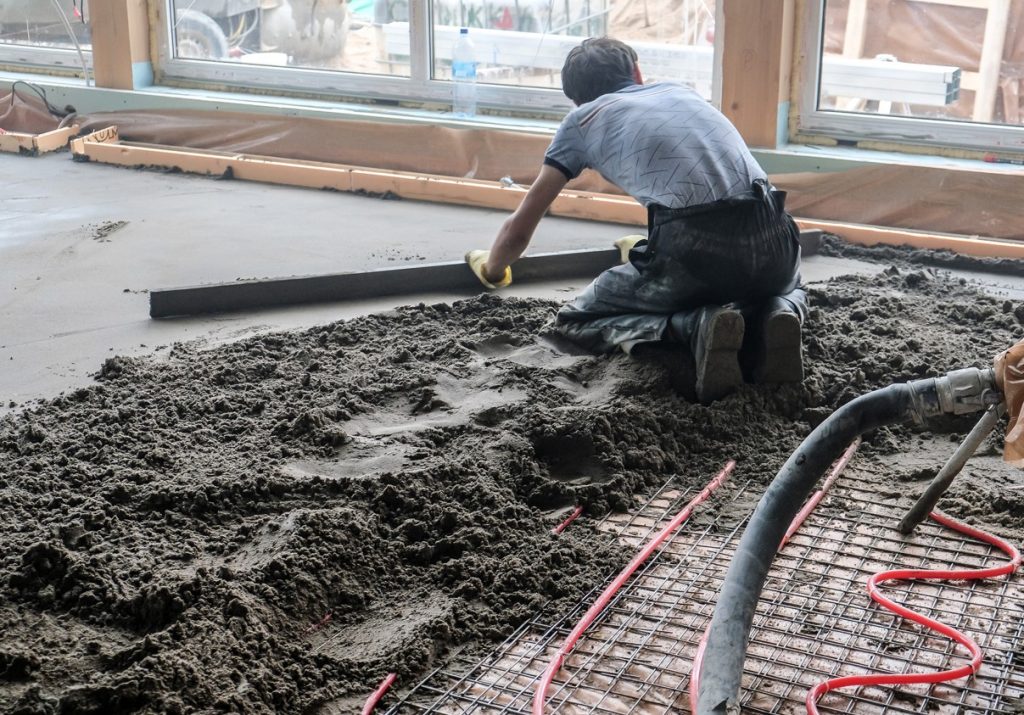
Floor screed is essentially a thin layer of cement and sharp sand that creates a smooth, level surface on top of your concrete subfloor. Unlike concrete, which uses larger aggregates for strength, screed uses finer materials to achieve that perfectly smooth finish you’re after.
The main purposes of floor screed include:
- Creating a level surface for your chosen flooring material
- Providing thermal insulation when combined with insulating materials
- Housing underfloor heating systems
- Achieving the precise floor levels required by building regulations
There are several types of floor screed, each designed for specific applications:
Sand cement screed
Traditional sand and cement screed consists of sharp sand mixed with cement and water. It is known for its durability and cost-effectiveness and is suitable for both bonded and unbonded applications. While typically used for leveling subfloors, sand cement screed can also handle moderate foot traffic and is commonly found in both domestic and commercial settings. Proper curing is essential to achieve the desired strength and
Bonded screed
Applied directly onto a clean concrete surface and bonds mechanically with the substrate below. It’s ideal when you need maximum strength and minimal thickness.
Unbonded screed
Sits on top of a damp-proof membrane, creating a barrier between the screed and the substrate. This type is perfect when you need to prevent moisture transfer.
Floating screed
Laid over an insulation layer, making it excellent for thermal efficiency and sound dampening. It’s commonly used in residential properties where energy efficiency is a priority.
Insulating screed
Incorporates lightweight aggregates like perlite or vermiculite, providing both a level surface and thermal properties in one application.
Structural screed
Applied in thicker layers and designed to carry loads, whilst topping screed is used in thinner applications purely for levelling and smoothing existing surfaces.
Liquid screed
Often made from a combination of fine sand, cement, and additives, or in some cases, anhydrite. It is highly versatile and ideal for underfloor heating installations due to its ability to flow around pipes, filling gaps and ensuring optimal heat distribution. Liquid screed sets quickly, provides a smooth finish, and is an efficient choice for large areas as it can be applied faster compared to traditional methods.
Tools and materials needed
Before you start mixing like a concrete cocktail bartender, make sure you’ve got everything you need. There’s nothing worse than realising halfway through that you’re missing a crucial tool.
Essential tools:
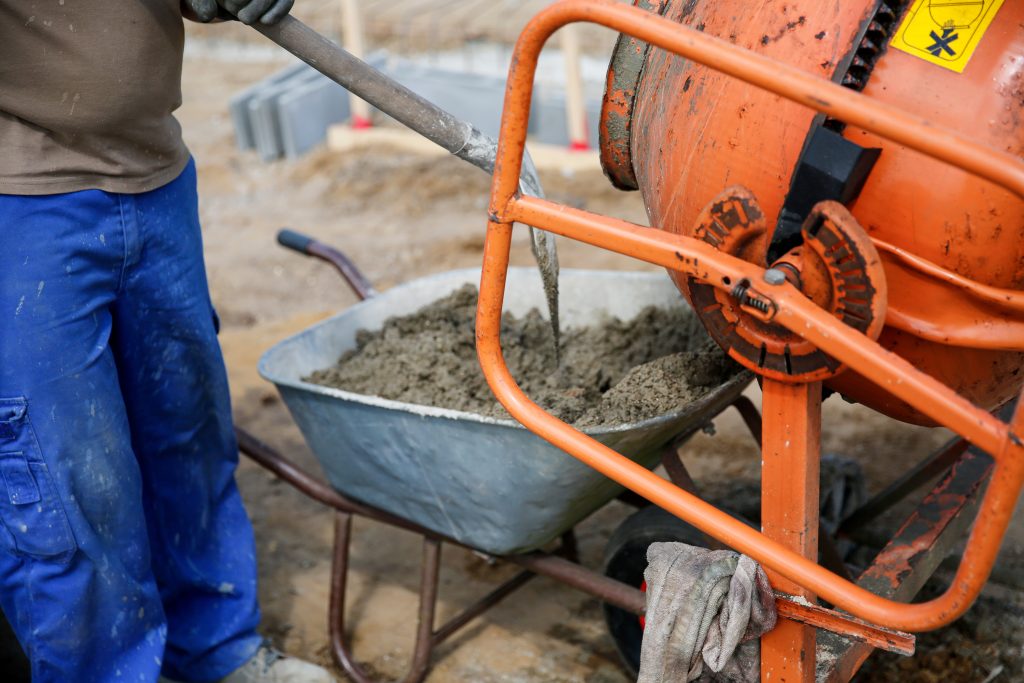
- Mechanical mixer (cement mixer or forced action mixer)
- Measuring buckets or containers
- Shovel and rake
- Float or screed board
- Spirit level
- Wheelbarrow
- Protective equipment (gloves, goggles, dust masks)
- Measuring tape
Required materials:
- Portland cement
- Sharp sand (well-graded, angular sand works best)
- Clean water
- Bonding agent (if required for bonded screed)
- Insulation materials (for floating screed applications)
- Damp-proof membrane (for unbonded applications)
The quality of your materials will directly impact your final result, so don’t skimp here. Poor quality sand with too much clay content will weaken your screed, whilst using the wrong type of cement can affect setting times and strength.
How to mix standard screed mix:
step-by-step guide to getting the right mix and right consistency
Right, let’s get to the meat and potatoes—or should we say cement and sand—of screed mixing.
Follow these steps for the perfect screed mix:
Step 1: Measure your materials accurately
Precision is key here. Use the same measuring container for all materials to ensure consistency. Eyeballing measurements is like trying to bake a cake without measuring flour—it might work occasionally, but it’s not worth the risk.
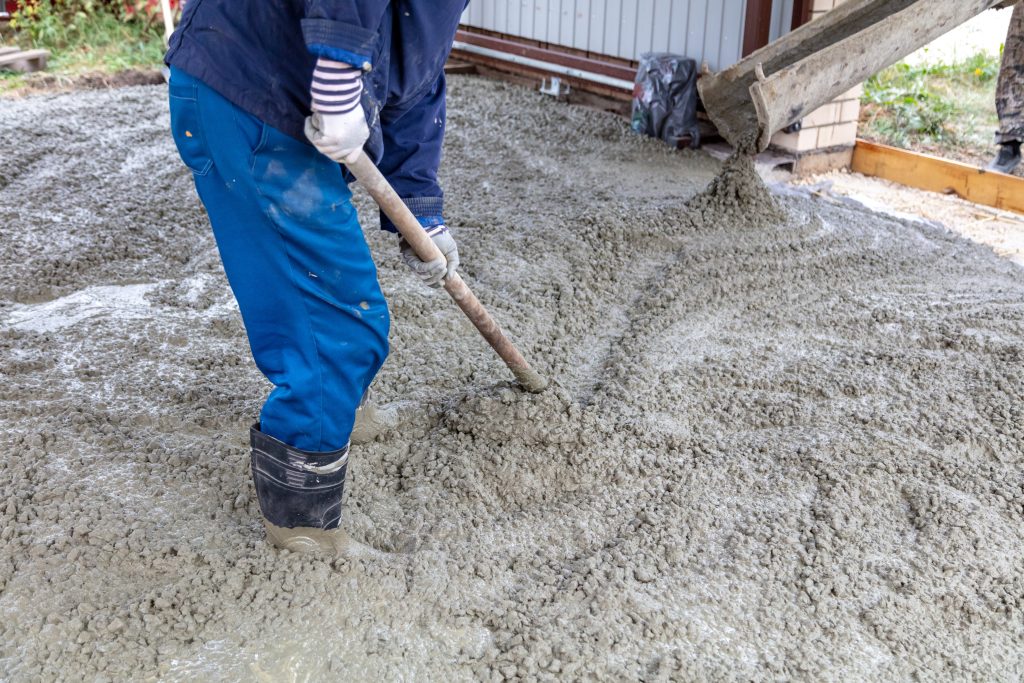
Step 2: Add dry materials to the mixer
Start with your sand, then add the cement. Mix these dry ingredients for about 30 seconds to ensure even distribution. This creates a consistent colour throughout the mix.
Step 3: Gradually add water
Here’s where many people go wrong. Slowly add water while the blender is running. You want enough to achieve workability but not so much that you create a soggy mess. The mix should hold together when squeezed but not leave your hand soaking wet.
Step 4: Mix thoroughly
Allow the mixer to run for 3-5 minutes to ensure all materials are fully combined. The mixture should have a uniform colour and consistency throughout.
Getting the right screed mix ratio for different screed types :
For standard screed mix: Combine 1 part cement with 2.5 parts sand and approximately 0.5 parts water. This creates a reliable, general-purpose screed suitable for most domestic applications.
For stronger screed mix: Use 1 part cement with 4 parts sand and 0.5 parts water. This provides additional durability for areas expecting heavier loads or higher foot traffic.
For faster-drying screed mix: Mix 1 part cement with 3 parts sand and 0.5 parts water. The reduced sand content allows for quicker drying times when you’re working to tight deadlines.
Remember, these ratios are starting points. Factors like sand moisture content, ambient temperature, and specific project requirements might require slight adjustments.
How much floor screed do I need?
Getting your quantities right saves both money and headaches. Too little means delays whilst you wait for more materials, too much means waste and extra disposal costs.
To calculate your screed requirements:
- Measure the length and width of your area in metres
- Multiply these together to get your floor area in square metres
- Multiply by your intended screed depth in metres
- This gives you the volume in cubic metres
For example: A room measuring 4m × 3m with 40mm screed depth:
4 × 3 × 0.04 = 0.48 cubic metres
Add approximately 10% extra to account for wastage and slight variations in depth. It’s better to have slightly too much than to run short during application.
The standard screed ratio of 1:2.5 (cement to sand) means that for every cubic metre of finished screed, you’ll need roughly:
- 7 bags of cement (350kg)
- 0.875 cubic metres of sand
Drying time
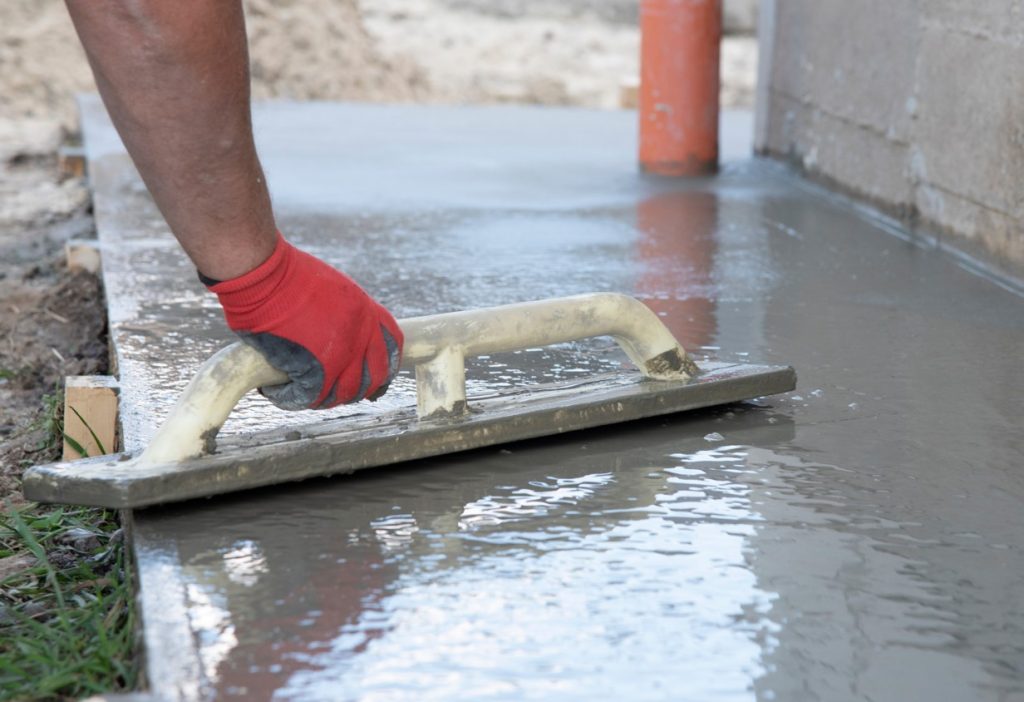
Patience isn’t just a virtue in screed work—it’s absolutely essential. Rush the drying process and you’ll end up with cracks, weak spots, or uneven surfaces that’ll haunt you for years.
Standard screed typically takes 24-48 hours to become walkable, depending on thickness and environmental conditions. However, full strength development takes much longer—usually around 28 days for complete curing.
Several factors affect drying times:
- Thickness: Thicker screeds take longer to dry throughout
- Temperature: Warmer conditions speed up the process, but too hot can cause cracking
- Humidity: High humidity slows evaporation
- Ventilation: Good airflow helps moisture escape
For faster drying, consider:
- Using a modified ratio with less water
- Improving ventilation in the area
- Maintaining consistent temperatures
- Using rapid-setting additives (though these cost more)
Never try to speed up drying with heaters or dehumidifiers too early, as this can cause surface cracking and weaken the overall structure.
Frequently asked questions
Can I add more water if my screed mix seems too dry or will this affect the correct ratio?
It’s better to add water gradually during initial mixing rather than after. If you must add more, do it sparingly and mix thoroughly. Too much water weakens the final product and increases shrinkage.
How thick should my floor screed layer be?
This depends on the type:
- Bonded screed: 25-40mm minimum
- Unbonded screed: 50mm minimum
- Floating screed: 65mm minimum over insulation
Thinner applications may crack or fail, whilst unnecessarily thick screed wastes materials and adds weight.
Can I walk on screed immediately after laying?
No, you should wait at least 24-48 hours before light foot traffic, and avoid heavy loads for several days. Premature loading can cause permanent damage.
What causes screed to crack?
Common causes include:
- Too much water in the mix
- Rapid drying conditions
- Movement in the substrate
- Insufficient thickness for the application
- Poor preparation of the base
Should I use a bonding agent?
For bonded screed applications, yes. Clean the substrate thoroughly and apply the bonding agent according to manufacturer instructions. This ensures proper adhesion and prevents delamination.
Are sand cement screed, screed, and cement all the same thing?
No, they are not exactly the same thing, though they are related. Cement is a key binding material used in many building applications, including screeds. A screed is a mixture that typically consists of cement, sand, and water, and it is applied as a thin layer to level a surface or provide a smooth finish. While cement is an ingredient, the term “screed” specifically refers to the final mixture and its application, not the cement itself.
Can I lay screed in cold weather?
Temperatures below 5°C can prevent proper curing. If you must work in cold conditions, consider using frost-protection additives and ensure adequate protection from freezing.
Conclusion
Mixing floor screed properly is part science, part art, and a hefty dose of experience. Get the ratios right, take your time with the process, and don’t rush the drying—your floors will thank you for it.
Explore our range of concrete solutions
At Mix-N-Go, we understand that not every project has the luxury of time for mixing concrete on-site. That’s why we offer precisely mixed, ready-to-use concrete delivered straight to your door. Our expert team has over 15 years of experience getting the mix just right, so you can focus on what you do best.
Whether you’re tackling a small domestic project or managing a large commercial build, we’re here to help. Contact Mix-N-Go today for a free quote and let us take the guesswork out of your concrete requirements.